Description
Breadboard Power Supply USB - 5V/3.3V (PPPRT-08376)
Discontinued last chance to buy!
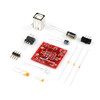
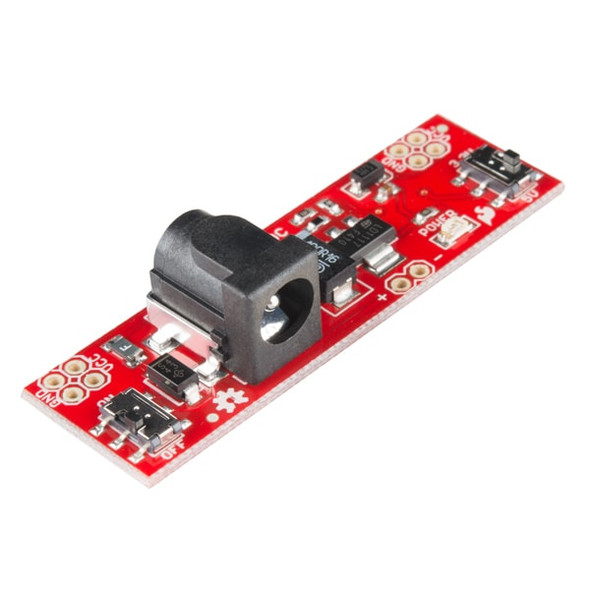
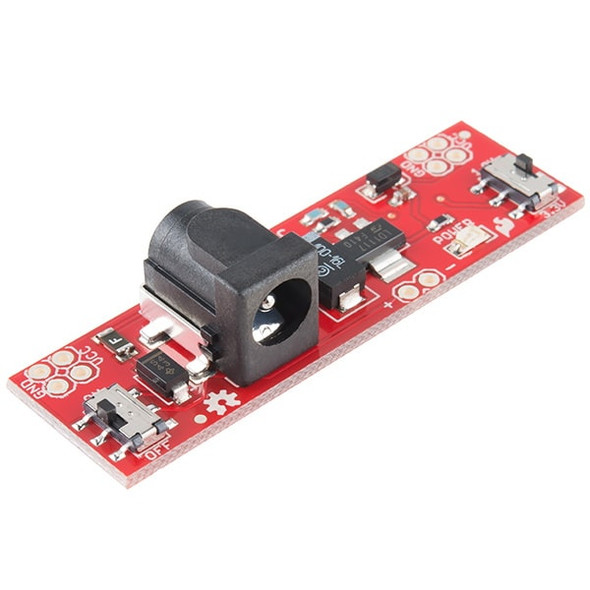
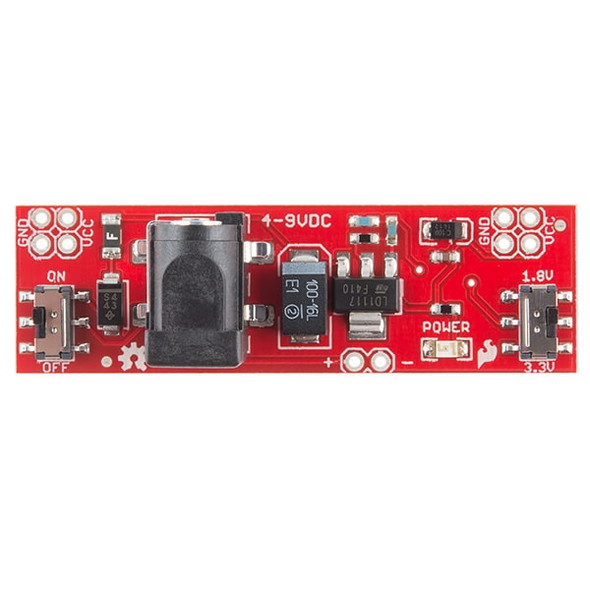
A very simple breadboard power supply kit that takes power from any USB port and outputs a fuse protected and regulated 3.3V. The .1" headers are mounted on the bottom of the PCB for simple insertion into a breadboard. Pins labeled 5V/GND 3.3V/GND plug directly into the power lines.
When you plug this board into a breadboard you must be aware that the unused power and ground pins will short if they are inserted into a bread board row. To avoid this problem, orient the board so that the unused power pins are left off the side of the breadboard. You can also orient the board sideways and utilize both 5V and 3.3V at the same time.
USB v2.0 specifies a max of 500mA at 5V. The on-board fuse limits the current to 500mA. Board has a handy On/Off switch.
Comes as a bag of parts kit and is easily assembled if you can follow the silkscreen indicators and have beginning experience with a soldering iron. You will need to read the resistor bands or use a multimeter to determine the resistor sizes.
Check out our Unregulated Power Supply Tutorial!
Kit Contains:
- USB type B connector
- TO-220 Voltage Regulator (LM317 1.5A max current)
- PTC Resettable Fuse
- 100uF 35V Capacitor
- 10uF 25V Capacitor
- 0.1uF 50V Capacitor
- Power LED
- SPDT Slide Switch
- 4pcs 0.1" Header Pins
- 330 Resistor 1/6W
- 390 Resistor 1/6W
- 240 Resistor 1/6W
- Bare PCB with Silkscreen Indicators
Documents:Schematic
Dimensions: 1.25x1.25"
3 Reviews
-
Title of review 949
Easy to make up - the PCB is printed nicely. Instructions on the web site would help exploit this board. I used it to replace AA batteries for powering LED fairy lights - I had to file it down to fit in the battery compartment, and arrange the components to take minimal space, and fit a micro usb (phone charging) socket which needs a bit of drilling. A satisfying project.
-
Title of review 948
Great project, ideal for beginners and bread-board prototyping. Very easy to construct though the single pins for the outputs were a bit tricky to solder in place in a vertical position.
-
Title of review 947
Easy to build even though the only instructions are the labels on the pcb. The led is way too bright though,


